Thursday, January 28, 2016

Splashy Block O'Love...using water patterns

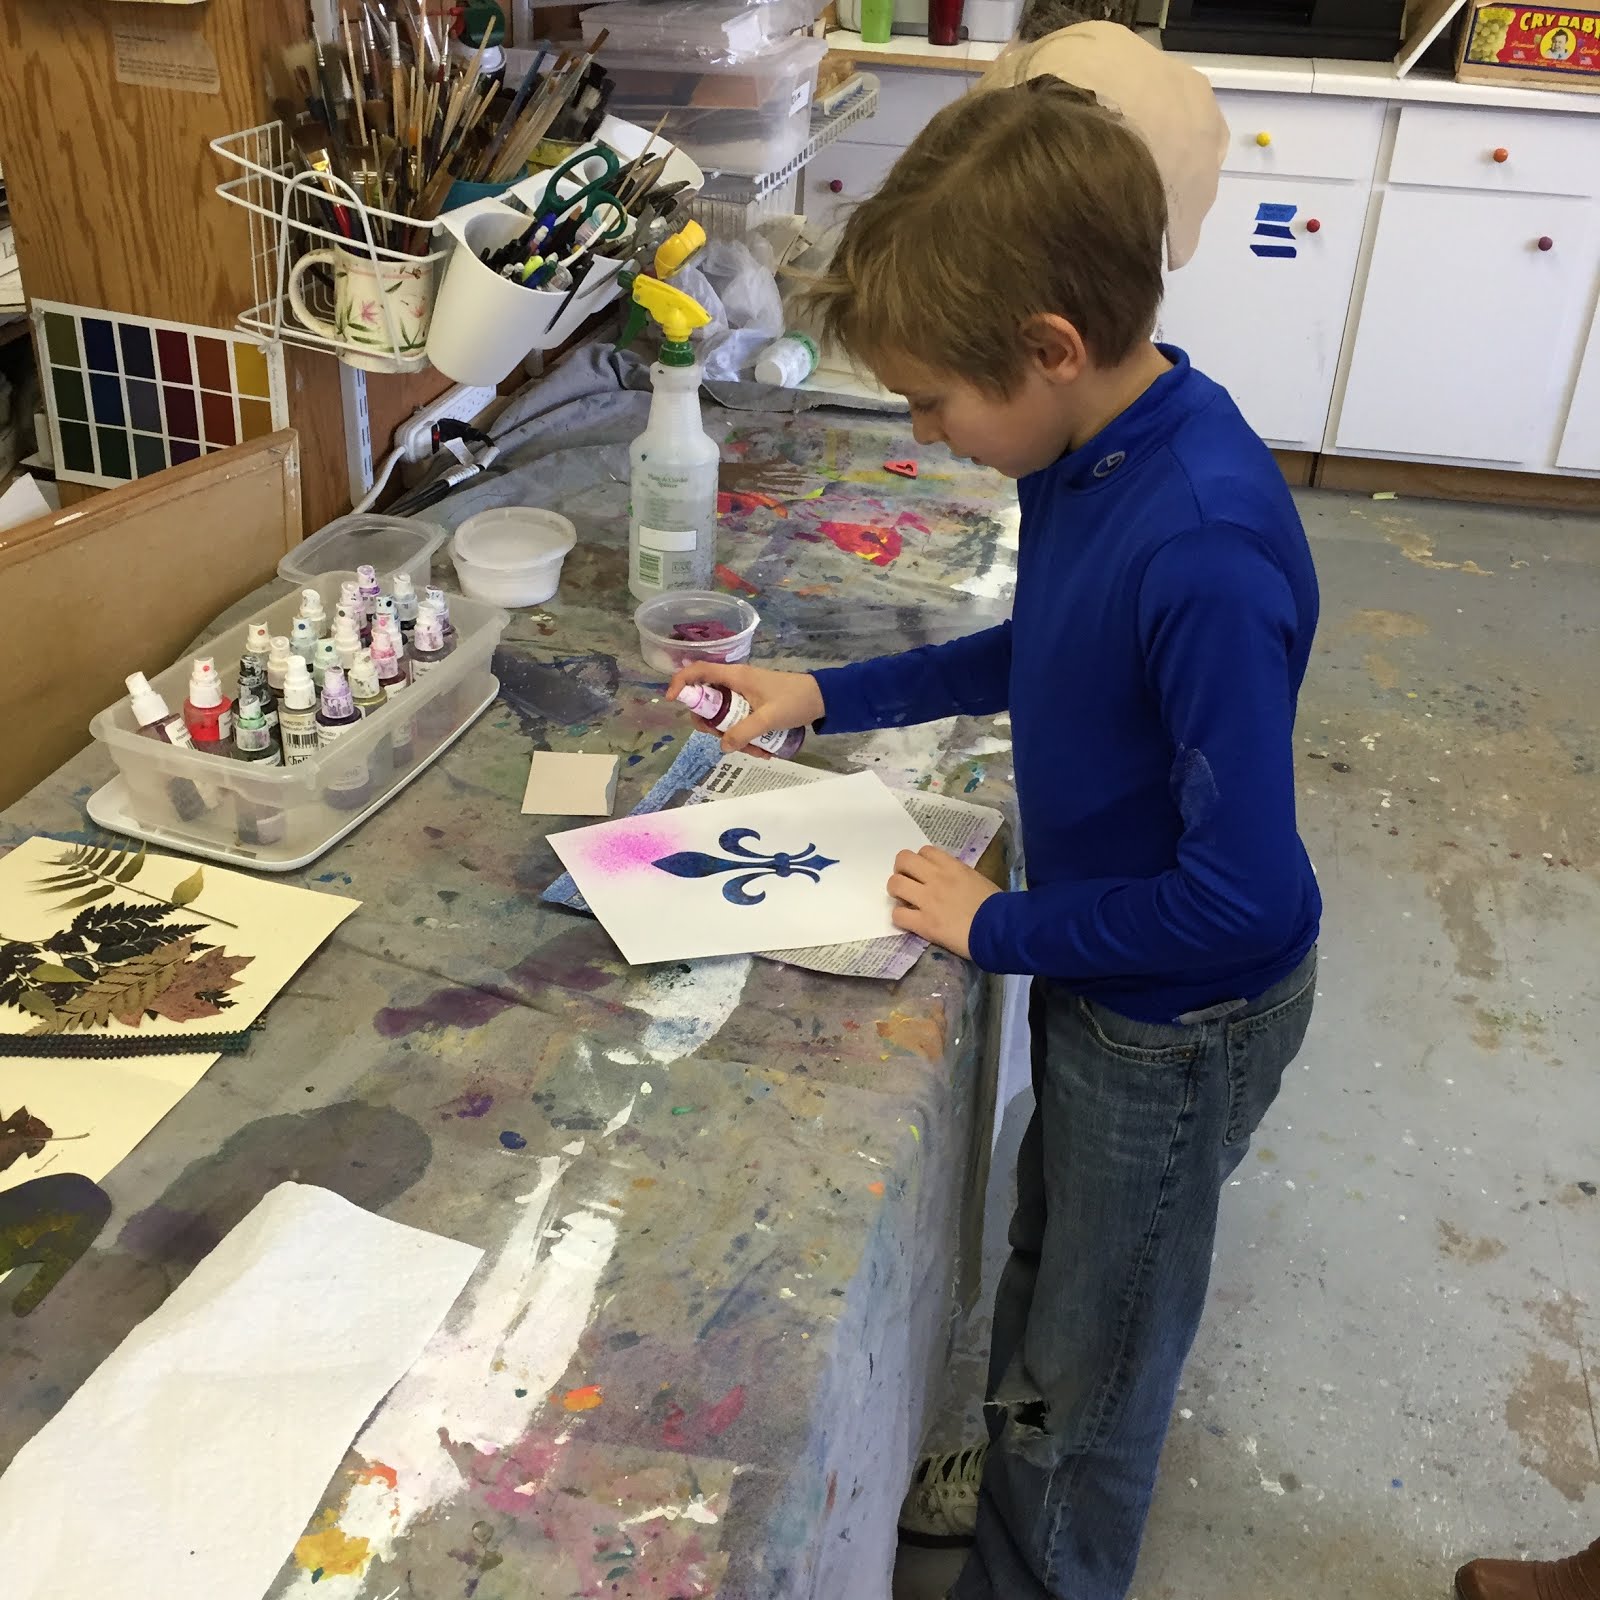
For my next batch of blocks o’ love valentines, I treated myself to some new acrylic spray paint by Liquitex!

They seem to have a bigger range of colors, and hoping they clogged less frequently than the ones I was using prior-(Montana Gold brand). And since the valentine palette is not my “normal” color range, I needed to add some more colors to my collection (note- any type of rationalization is acceptable when it comes to buying new art supplies!! :)

Anyhow armed with these new colors, I warmed up in my art journal and I pulled out some papers to practice on. My theory is when you are doing processes that require quick 
spontaneous actions, you need to do lots- some to warm up, and then make many so you have options and can be selective about which ones are the best. Picasso said the artist best tool can be the garbage can! In other words- edit yourself. If they suck, paint over them and keep going. But if they work- they deserve to live:) It’s being able to recognize the difference and stop at the right point that has taken years to perfect. So those fun splashy designs you see and think must've taken only a moment to create are are usually the 6th or 7th or 10th attempt, not the first.  Why not just apply with a brush? Because I think naturally derived patterns are gorgeous- and letting water do what it does naturally creates some lovely shapes and patterns. Thus- my use of many fluid processes…


So on with the fun part! I did some splashing, spraying, then quick wiping away before the paint had a chance to dry.  A couple of them I dropped in some liquid inks on, maybe some more water, and let them dry.  Seal them up with a quick layer o clear acrylic once they were dry and they were ready for next step.


 For this one, I liked the pattern created by the water so much, didn't want to add too much more - so I opted to add two little hearts and no text or screens. I scrubbed/sanded off a little more magenta to have a simpler background for the hearts. Then I cut some stencil hearts, but once I sprayed them I thought they were a bit too solid- so to add some texture I scratched back into the paint with the end of a paintbrush. I thought it still needed a little more contrast/definition, so I loaded one of my new ink pens with FW inks in black, and just traced the hearts with playful lines and a couple o dots here and there.  Voila! dry, spray seal,-done! 


This block was bought to give to a mom and her little girl… sweet! 
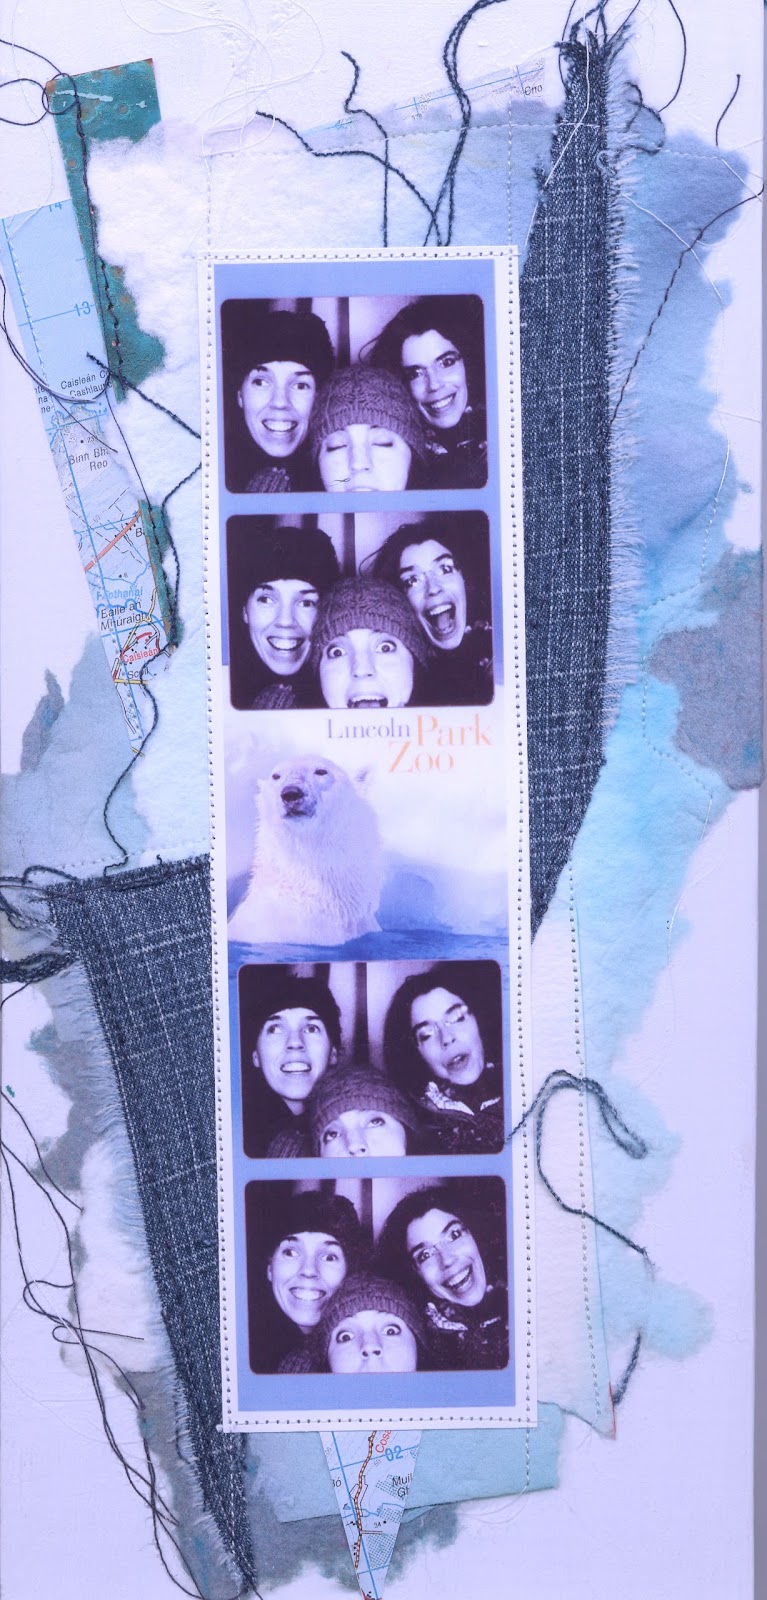
Spreading the love….

See the rest of the blocks o’ love here….

Thursday, January 21, 2016

Playing in the studio with JJ!

So this past Monday on Martin Luther King day, when the kids had the day off, I invited some of my nieces and nephews over to the studio to play and make valentines. I have been meaning to do this for a while and life just kept getting in the way, so even thought JJ was the only one who could make it we went ahead with it! So the lucky boy had the whole studio to himself!

When he got there, he asked me if he could sculpt, and looked bummed that we would only be painting instead. But as soon as he saw me start to play around with all the spray inks, he got into it right away. We worked with just a simple concept of a resist using acetate shapes, plastic grids, leaves, strings, and anything else we could think up (our hands!).  You lay down the resist materials, and spray and squirt. The ink will absorb into the paper wherever its not covered.  We filled up two tables of painted papers  then took a lunch break. When we came back we were going to assemble them into collages/ cards, but JJ wanted to do round two! So he made some more papers before we got to the cutting and gluing.  With a little help, we made his mom and dad cards for Valentine's Day.  Dad's heart came from the foam shape were used as a resist for mom's, so dad's heart came from moms. Perfect. Thanks for coming and playing in studio JJ!


JJ getting the hang of it- and loving the flour de lis shape! 


Mom helping out- and JJ hamming it up for the camera! 


some of our papers...


...and mom and dads Valentine day cards....

Although I missed my other nieces and nephews, it was kind of nice to be able to adapt and improvise based on one person. I really do enjoy teaching, but resent the time it takes out of my studio practice to clear away all my materials, plan and order materials,  advertise/enroll, and then of course teach! followed by clean up and setting up the studio again.  But with one or two people- a major studio reorg is not necessary.  So perhaps I need to reconsider the concept of classes, and maybe do a solo or small groups. What do you think?

Friday, January 15, 2016

Making Blocks O'Love

I love the LOVE holiday! Smack dab in the middle of winter, I  need a little splash of color and love to get me through to spring. So around this time every year, I change my color palette to magentas, purples, pinks and reds.  Last year I made batik paper Valentines, this time I had more of an object in mind, but couldn't find exactly the right support, so went to the lumberyard and bought the biggest chunks of wood I could find. I came back to the studio, cut them up, gave em a good sanding


 and coated with several layers of gesso.  Next -color palette!  I never allocate enough time for this, or realize how much time it takes because it's fun to pick colors!  but it takes time to make the colors in front of you matched the colors in your head, and then to make sure that each type of sprayer, squeeze, bottle, or applicator is working correctly so I can spray, splash, pour, or drip!


I had decided to incorporate some poems and words of love into these, and figured silkscreens would be the best way.  So spent an afternoon playing with type/text on the computer,  and then with ink and japanese brushes making loose hearts to use for my silkscreen imagery.  


Finally, I got to play! i "warmed up" in my art journal first- a safe place to experiment-
  

Then jumped in!  I spent a very fun afternoon splashing, pouring, and  spraying. I made about two dozen so far, too many to go over all in here, so I'll feature a couple this week.


First layer of inks, spray paint and gesso. 

Then I "audition" which screens i want to use by laying a transparency over the painting. 
i ended up going with Elizabeth Barrett Browning's poem "How do I love thee?" for the piece on the right. Once i have it where i want it- i screen it on. 


I decided I wanted to obscure the lower right a bit- so went back in with the burst of white. Then I cut a stencil to fill the inside of my silkscreen heart, and spray paint it on, then quickly scrubbed and sanded away to rough up the surface and make it more interesting....


then finally line up the silkscreen, and add the back contrasting heart (painted earlier with Japanese brush, then made into a silk screen) 
Finished piece! 


At this point, this one is still available but they are going fast! 


Thursday, January 7, 2016

Photo Gifts...

Since Christmas has passed- I can post this without ruining any surprises!

This gift wasn't planned out- and the sister that it was intended for is a world class procrastinator so I know she'd understand.  I am horrible about saving and framing pictures, but enjoy receiving them from people who went ahead and did the work for me. I thought I would reciprocate this year by properly framing a picture for my sister's new house.  Well- by the time I got around to it- it was way too late to be done by Christmas. It was one of those old fashioned photo booth both pictures from a sisters day out downtown a couple of years back.   The size wasn't standard, so I couldn't find a ready made frame for it. But I figured I could do something to finish it anyhow, so I brought it to the studio  to play with it.  Here was my alternative framing solution.

I found and cut a board a little larger than the photo, and then gessoed it, and attached hanger on the back.


Knowing her bedroom color was blue, i foraged for blue in my papers and found handmade appears form grad school, old jeans- and a map of Dingle Bay in Ireland (my sister is a geography whiz, map lover,  and world traveler, so i knew she would appreciate.) So- threw that in there.


I played around with various stacks of arrangements and liked this one. 


I taped it down with painters tape to keep it in place


then sewed the layers together. 


I glued it to the front, gave it a protective spray on the top- and wrapped it as soon as it was dry!