Thursday, November 5, 2015

Fall Art Practices- Leaf Impressions.....

This week I’m still making seasonal art since I need to do this type of work while there are still leaves alive on the trees!  Unlike last week’s post where I was trying to make them very flat and take all the moisture out of them, for the cavo-rilievo technique (Italian for hollow relief), you need pliable sturdy leaves.  If they are too dry and brittle, it just won’t work.  


I love this process I've discovered for encaustic!  Although it took a bit of experimenting to find out exactly what temperature the wax needed to be, once I had that down it was so very fun to capture all the different types and shapes of leaves- and each and every vein!  

In very simple terms, you press a leaf- vein side down- into warm wax and burnish it in. You can paint around the edges of the leaf lightly with encaustic pain and fuse every lightly if you want a contrasting color in the background.  Carefully peel it up, and you've got an exact impression.  


For me, the fun comes in then rubbing oil paint into all the crevices to see the veins become more visible.  For this one, I used a turquoise blue which changed everything...I love that you can see some of the brushstrokes of the paint coming over, and a little bit of the background layers of color show up.     


Here's the whole batch of them and some detail shots....


Just after taking the impression ...


...and after the staining...


Happy Fall!


Thursday, October 29, 2015

Collecting and Pressing Autumn Leaves...


So taking a break from my collage-a-thon to capture some of the leaves while they are still here!  I love to use botanical specimens in my work, and save a few exceptions, they need to be pressed very flat to make them easy to work with.  So every year I spend a chunk of time adding to my ongoing collection so that in the middle of winter (or early spring) i have many colors, size and specimen options to choose from.  
    

 I used to do my collecting of leaves lots at once, and it would take me and my assistant half a day or more to press them all correctly. They would take up half a table workspace for a couple weeks while they dried. This year I'm approaching it on a smaller scale. Since I already have a pretty big collection, I'm pretty well set, but you never know when you're going to need a certain size or color or shape.  Since I can't do this in this in the middle of the winter, I'm doing it now. For the most part sticking leaves in the old telephone book or book is fine, except for the species that have a really thick stem, then you have to build up on either side of that stem so that everything will dry flat.  
For example, this branch of sumac leaves has a pretty thick stem, so if just stuck it in a book the parts of the leaves right by the stem would not be pressed flat.  

so I lay it on acid free blotter paper

Then build up around the stem with other pieces of paper until tis flush with the stem.  

More blotter paper and cardboard to cushion, then another piece of wood before starting on the next layer of the stack. 
Then I weight the whole thing down more with sand bags. 


Now wait a couple of weeks. Its important that they are thoroughly dry and free of moisture before embedding them in any medium.  

Heres some lovely perfectly flat specimens! 


Once they're dry, then I need to store them in a way that will keep them safe and that I can find them. 
If I have an abundance of one particular type, I like to try and put them in a file folder, like these honey locust leaves. 


Then I organize them by color so I can easily find what i am looking for when adding them to a painting!


How long did that painting take you? I started preparing for it  a year ago ... :) 


Thursday, October 22, 2015

Altered Papers

So today I got out on my flea market purchases, and thought I would at least make a couple of small collages. Wrong. I thought they needed a little marking up, so I started spraying, painting, sponging and in general messing with them. People always ask me how I do a certain portion of a painting, and sometimes I cannot remember. Sometimes I think they feel I am being evasive, but truly, once I get into the zone, I just start making shit up and I don't record it for posterity. I couldn't tell you everything I did today, but I tried to take pictures, even though I lost my phone at some point under the papers! This is so much fun, I complet

ely lost track of time- which is s good sign..! I feel like I could do this forever, but I suppose at some point I would want to try and assemble them. And that is the next task. But for today-a lot of fun was had marring up an Encyclopedia Britannica from 1911, poetical works, and the "Secretary’s Desk Book" from 1933, which cracked me up with everything included that they considered imperative for a secretary to know....  
Here's some of the ways in which I "altered" the papers I collected..........          

I pulled out some stencils I had forgot about to get me going ...   


Then pulled out my new favorite- walnut ink!!  Gorgeous sepia tone I couldn't get enough of....


Picked up the excess...


Then, feeling on a roll, pulled out even more potential papers.  
These are prints that I made that didn't make the cut for various reasons- but are on gorgeous printmaking papers and still have portions that are printed well...-so- lets muck em up! 


Start out with some subtle pan pastel...


Sprayed ink...


and walnut inks! 


What the hell- lets throw some acrylic ink on there...


OK, maybe too much...


Use another print to pick up the excess....


and an encyclopedia page as well (apparently I overdid it!)


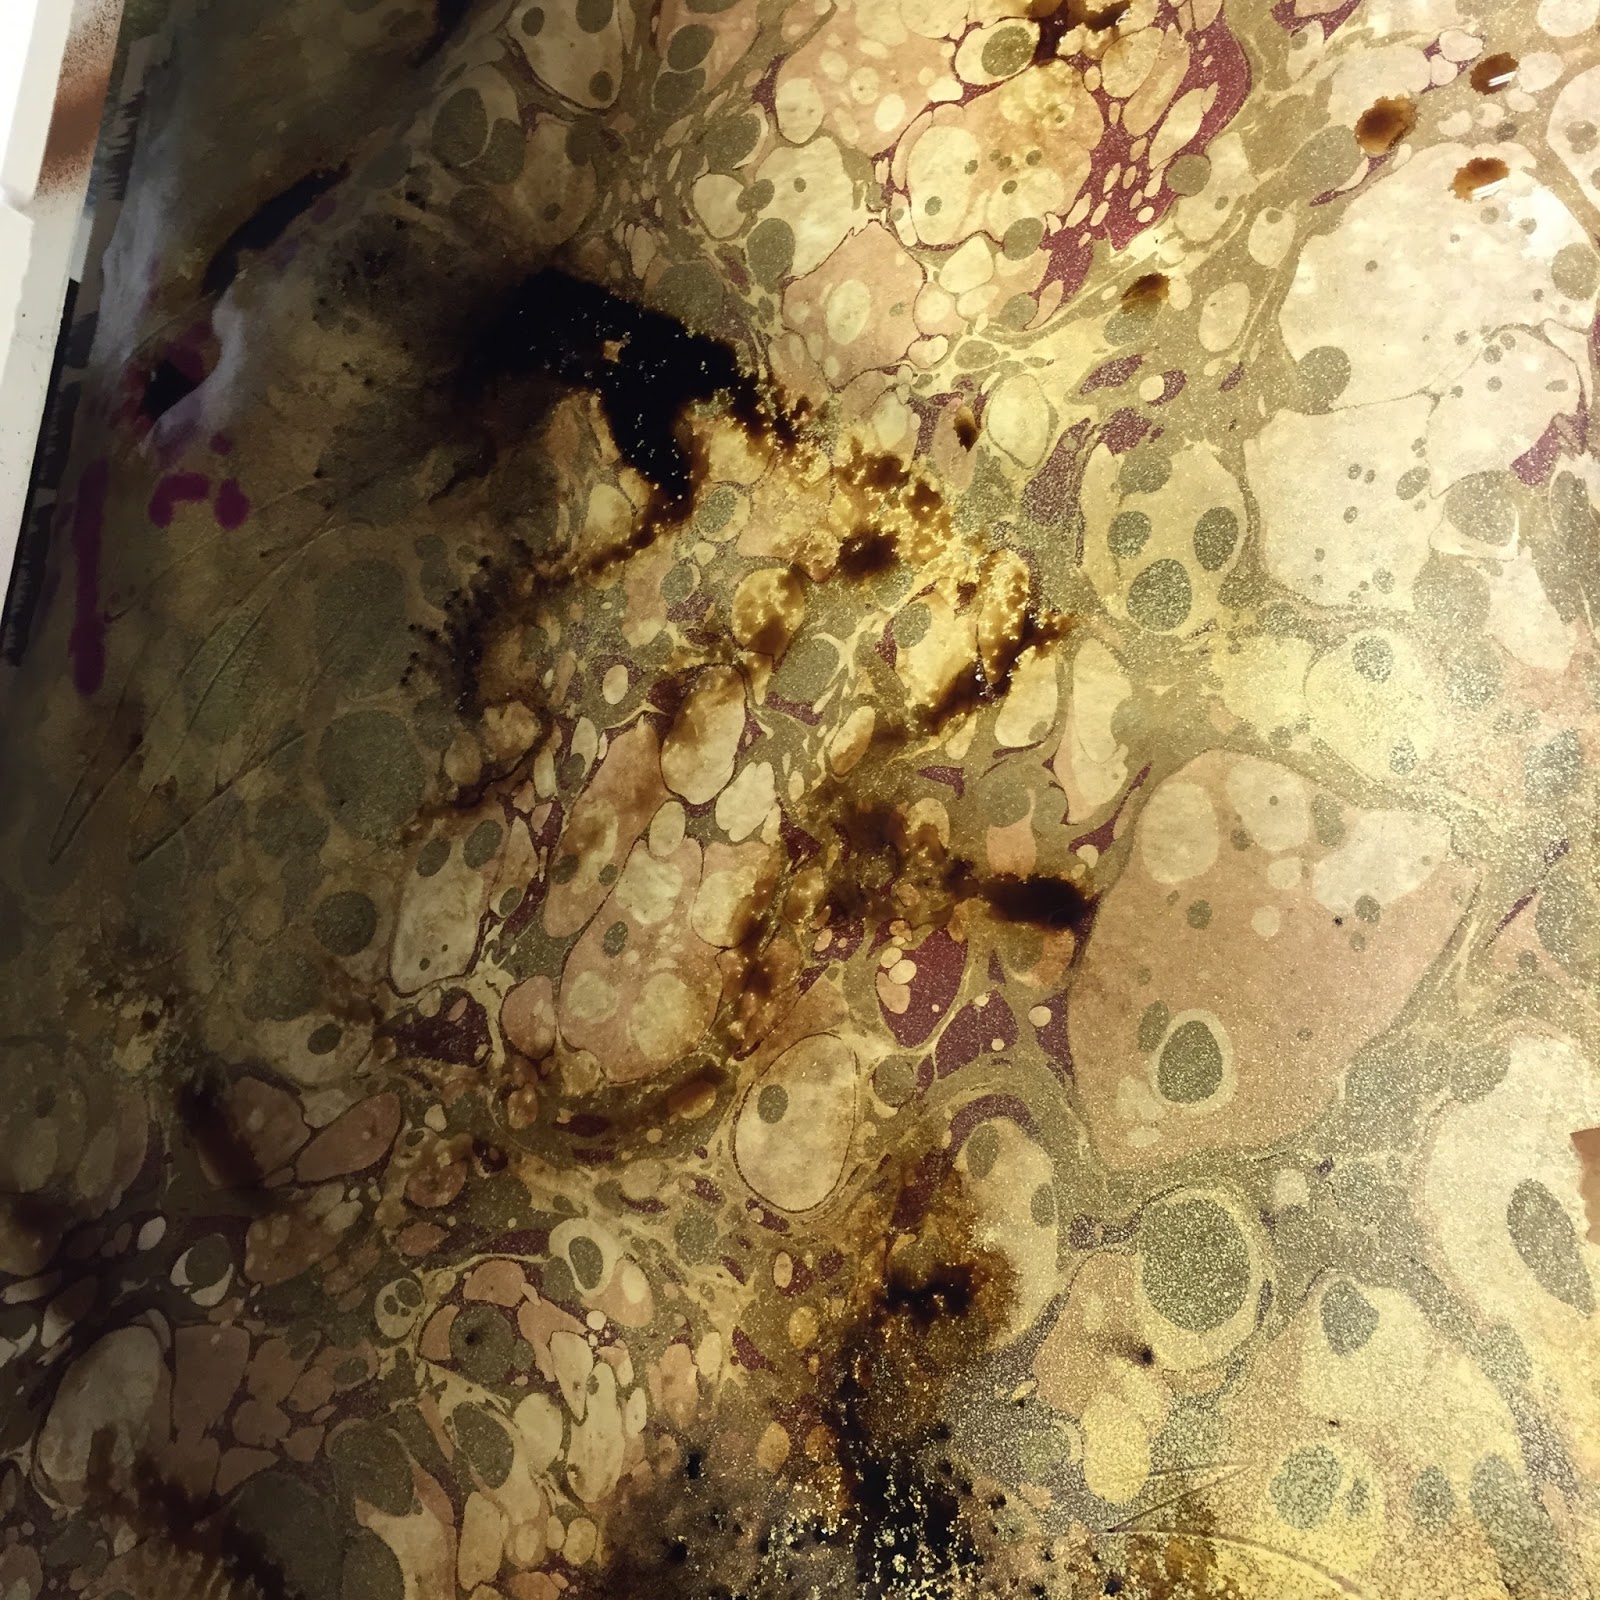
Then- I had bought some marbled paper that I just loved the pattern of- but just wasn't my color palette exactly- so- put on another layer on them as well! (or 3...)


Little too much- so- lets transfer it to another (a monoprint by some standards- I think not so much...)


OK- not much room left!! better give it up for the night...