Showing posts with label painting. Show all posts

Thursday, January 21, 2016

Playing in the studio with JJ!

So this past Monday on Martin Luther King day, when the kids had the day off, I invited some of my nieces and nephews over to the studio to play and make valentines. I have been meaning to do this for a while and life just kept getting in the way, so even thought JJ was the only one who could make it we went ahead with it! So the lucky boy had the whole studio to himself!

When he got there, he asked me if he could sculpt, and looked bummed that we would only be painting instead. But as soon as he saw me start to play around with all the spray inks, he got into it right away. We worked with just a simple concept of a resist using acetate shapes, plastic grids, leaves, strings, and anything else we could think up (our hands!).  You lay down the resist materials, and spray and squirt. The ink will absorb into the paper wherever its not covered.  We filled up two tables of painted papers  then took a lunch break. When we came back we were going to assemble them into collages/ cards, but JJ wanted to do round two! So he made some more papers before we got to the cutting and gluing.  With a little help, we made his mom and dad cards for Valentine's Day.  Dad's heart came from the foam shape were used as a resist for mom's, so dad's heart came from moms. Perfect. Thanks for coming and playing in studio JJ!


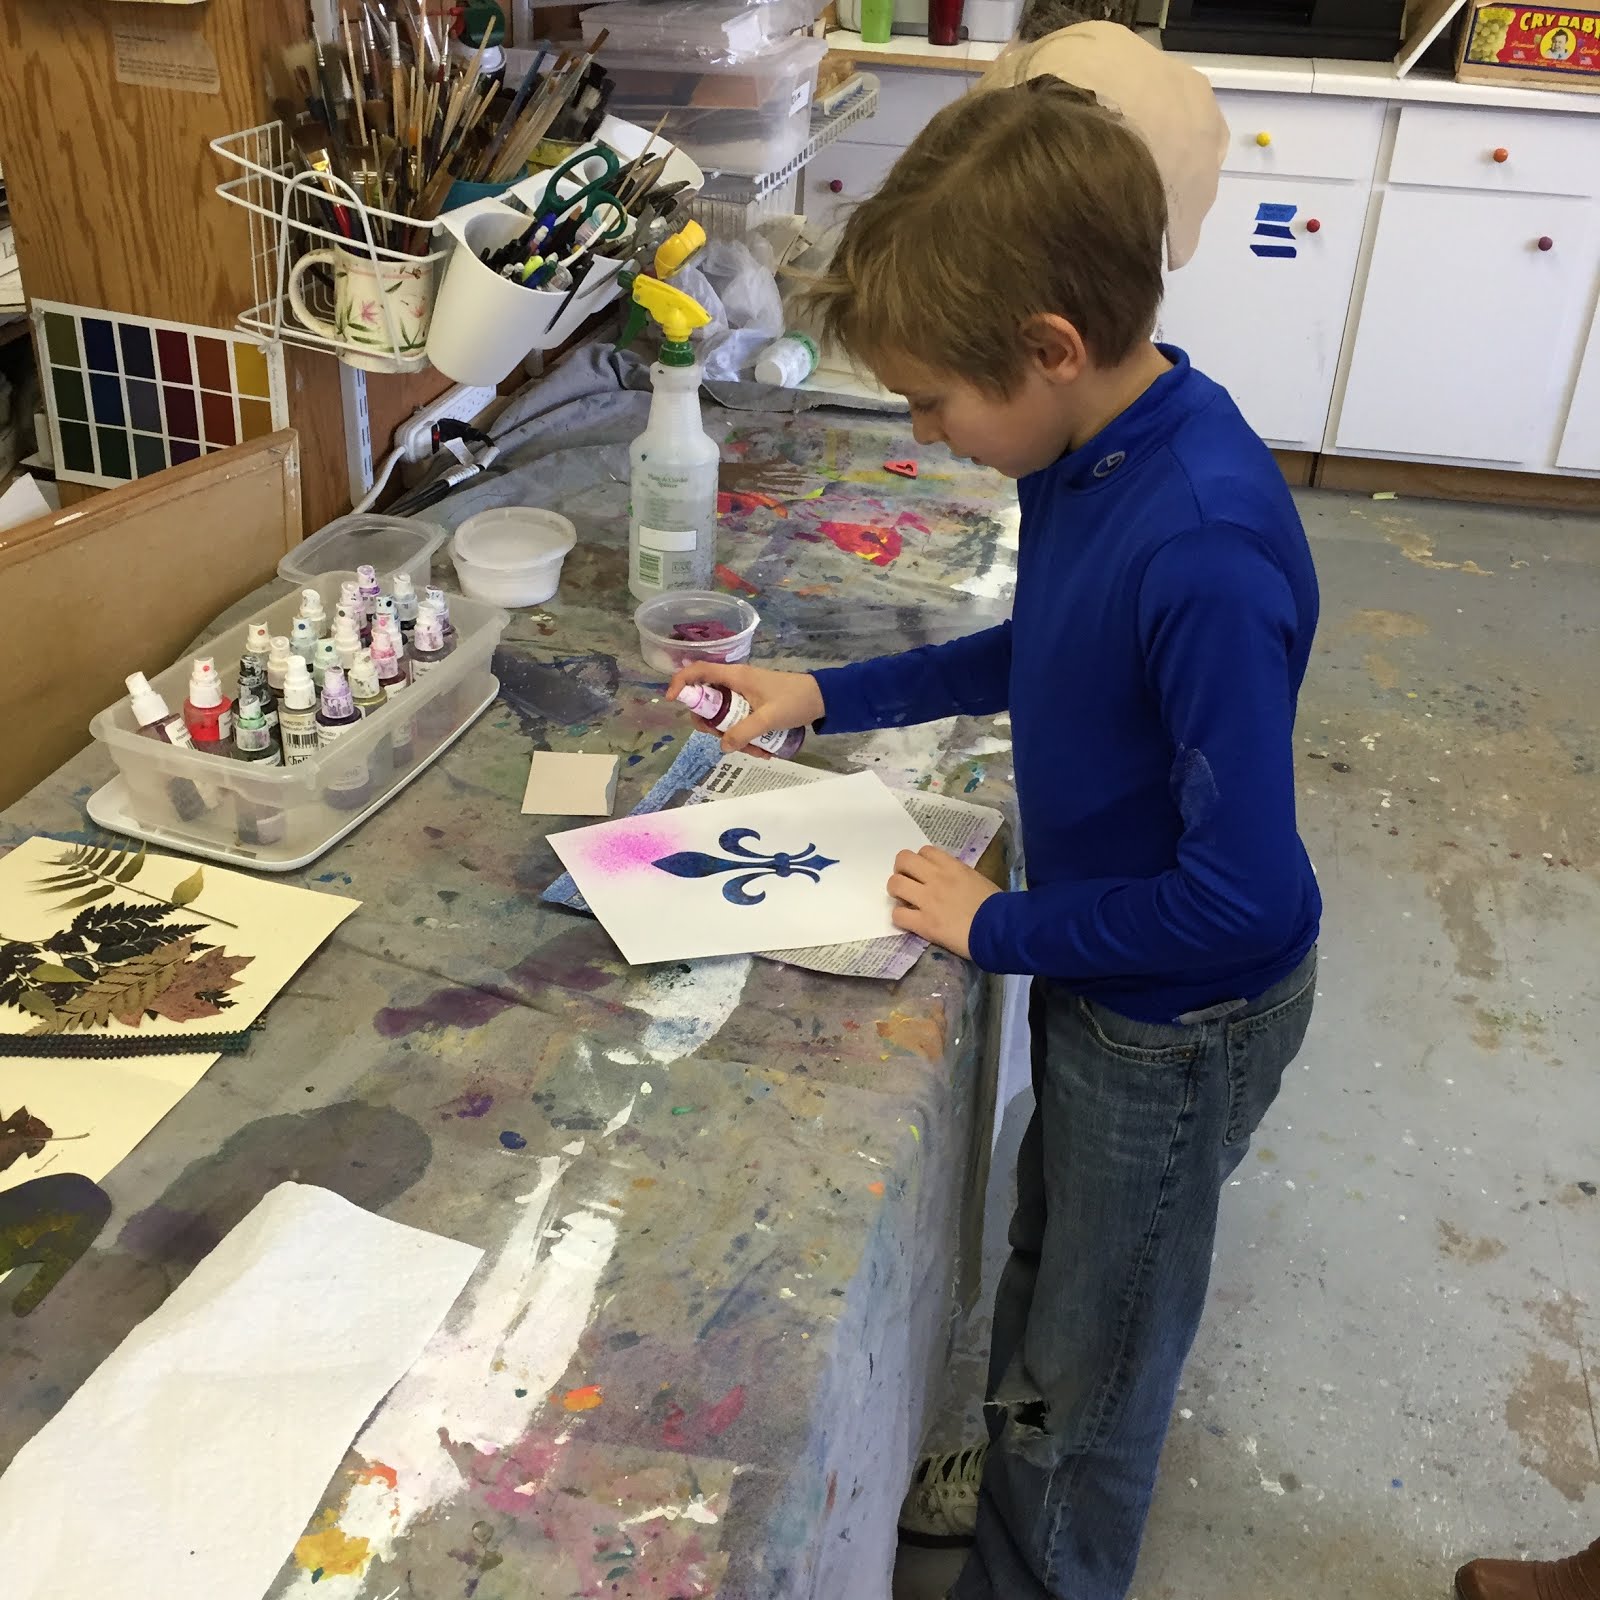
JJ getting the hang of it- and loving the flour de lis shape! 


Mom helping out- and JJ hamming it up for the camera! 


some of our papers...


...and mom and dads Valentine day cards....

Although I missed my other nieces and nephews, it was kind of nice to be able to adapt and improvise based on one person. I really do enjoy teaching, but resent the time it takes out of my studio practice to clear away all my materials, plan and order materials,  advertise/enroll, and then of course teach! followed by clean up and setting up the studio again.  But with one or two people- a major studio reorg is not necessary.  So perhaps I need to reconsider the concept of classes, and maybe do a solo or small groups. What do you think?

Thursday, September 3, 2015

Planting Art seeds in the UK

( These were scheduled to be posted while we were in Scotland and Ireland- but Blogger had different ideas. So- a little late but the art remains the same)

In preparing for our trip to Scotland and Ireland, I made a dozen or so ATCs.

For those of you who don’t know, ATC stands for artist trading cards. They are pieces of board or paper that are 2.5” x 3.5,” the same size as a baseball trading card. They are little tiny baby pieces of art that were originally traded, and now ACEO’s- art card editions and originals- are sold as originals or small series of prints.   The intention for mine was to plant them on both “islands” during our trip, giving them to people who I enjoyed or may enjoy a tiny piece of art.  So I thought it fitting while I’m in the UK, I’ll highlight them on my blog!

Magenta Grasses ATC

This first one I started with some alcohol inks, which I am currently in love with. It’s serious-want-to-get-engaged kind of love :)  I am going to need a cabinet storage area soon! Such vibrant colors, quick drying, and have awesome interactions with other materials.  It’s a loose start, but I like the proportions of negative to positive space…


Went a little crazy here…


So I simplified a bit with alcohol and some coarse kosher salt…


Sometimes there is a method to my madness- other times I love just foraging through my collections to see what feels right, making a right brain rather than left brain connection… that's how I happened upon some patinaed copper that worked beautifully with the magenta.  A wee bit of pressed goldenrod balanced the strong horizontal nicely, but still not feeling done….


Added “living in the moment” in white….


But once I added wax I lost the delicate writing. So added some abstract script, highlights on goldenrod and linear pattern with the contrasting white. 


Done, stamped, signed, and ready to be packed for the voyage!


Slainte!


Thursday, July 23, 2015

The Commission Process Step 5-Imagery and Details: Shirley and Roger

Some parts of the process are exciting and quick- like the pour. But some are slower, more meticulous and exacting.  This week was one of those times.    I spent several hours two days in a row fine-tuning some areas of the painting, adjusting color, eliminating details I didn't like, accentuating those I did. Once I got it to the point that felt right- I the continued on with the next step- the grasses.

It was important to Shirley that the grasses retain their original “straw” color. I was going to use actual grasses- but during the process of attaching them, their color can become obscured, (or scorched by the torch!).  So based on feedback from Shirley on earlier pieces, I opted instead to silkscreen them on.  


I still wanted to use some actual botanicals in the piece, so I chose leaves in their color scheme, some dollar plants, and Queen Anne’s lace to incorporate.  Once again- I am very slow and deliberate about placement.  Composition – or the arrangement/balance of a piece- is very, very important to me.  I spent a good chunk of an afternoon going through my collection of pressed botanicals to find a good range of size and shape, and then laid them on in various configurations.  When I finally thought that I had a good arrangement- I left. ! Yes, I wanted to wait and see if I felt the same way the next day, looking at it with fresh eyes.  The next morning- I made some small adjustments, but went with the plan. Now to attach in the exact configuration I’d decided on!

I have done this process with with the encaustic wax on a smaller scale, but the larger scale here caused a couple of difficulties.  You must heat up the surface before applying wax, and to do so requires the use of a heat gun or blowtorch- both of which will blow all of my fragile and very light arrangements right off the panel!  I take a picture with my ipad so I can refer back to it- but then I weighted down the ones not being worked on to keep them in place while I heated and applied hot wax to attach the leaves or pods or flowers. It took all afternoon to attach them- but they are exactly where I wanted them :)


In the home stretch now- I hope! I think I am clear about the next step- 
but want to take a break and come back and look and see…
Here it is in its present state hanging on a small piece of studio wall painted in Shirley and Rogers colors....


Friday, July 10, 2015

The Commission Process Step 3-Practicing the Pour....:Shirley and Roger

So while I was patiently waiting for the custom panel to be built  (or maybe not so patiently), I thought I’d start “practicing” for the pour, or the first step after gessoing. I love and hate pours-they can be so fun, freeing, and immediately gratifying once you are done with the mixing and set up. It’s kind of like painting room-many times it takes longer to prepare the room than to actually paint it. This is definitely the case with pours.  They can be really really fun and beautiful with all sorts of different viscosities of paint and pigment branching and flowing into one another, or they can go really really badly, ending up with one big muddy runny mess.   Or you can leave come back the next morning and everything has migrated to a completely different part of the painting than where you put it initially. So pours are exciting and nerve-wracking at the same time. It is controlled to a certain extent- and the rest relies on instinct and gravity.  At any rate, the following is a video of me doing a pour.  It was preceded by three prior pours, which were less than stellar. Those could not be used due to the many obscenities uttered in the making :) 


I do want to stress that this is the very first FIRST step of many in the process of making a painting.  The next step requires a lot of sitting and staring, nail biting, fretting, and pacing deciding what to keep, what to delete, and what my next step will be.  That, however, would make less than stellar video, so I’ll just give you the fun part here: